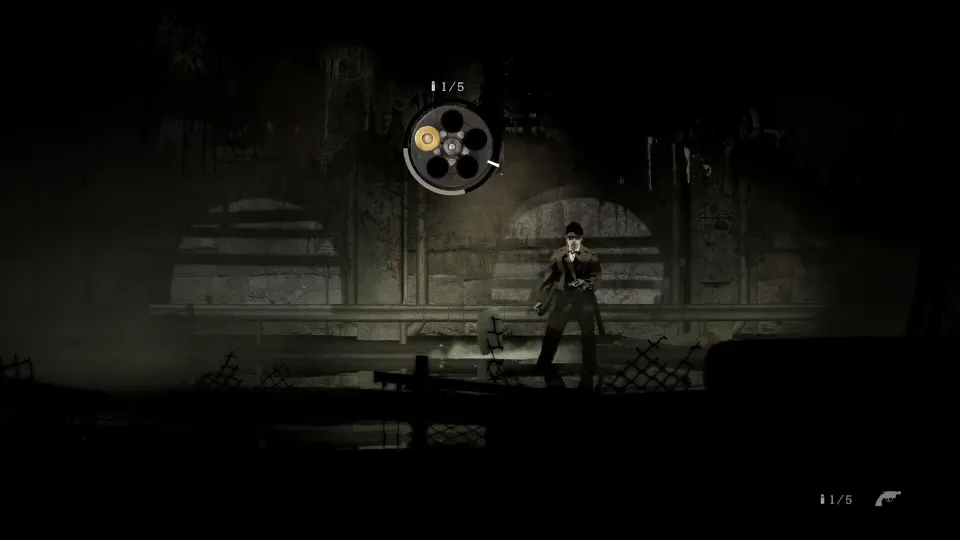
Start at the diner and reach the motel
Your first major obstacles have straightforward solutions: tune the diner radio to 89.0, open the general store freezer with 2311, and read the motel ledger for your individual gate code. These solutions open the investigation and save you repeated trips.
You play as private investigator Red Walker, searching for missing musician Eddie Velvet. Collect your equipment and establish the route to the Crimson Bear Motel.
-
Search the diner. Take the Car Key from the table, read the emergency-frequency notice in the restroom, and collect the Locked Ring Box from the toilet area.
-
Enter the kitchen. Pick up the Diner Key above the radio, tune to 89.0, and make and drink coffee for a permanent stamina increase.
-
Leave and answer the phone. Open the exit with the Diner Key, take the call, then unlock your car trunk. Collect the ID Badge, Eddie Velvet Photo, Camera, and Velvet Dossier.
-
Find the motel lead. Collect the Outskirts map from the notice board. Follow the road toward the motel and read the office note directing you to Rodney’s General Store.
-
Get the Underpass Key. Visit Garth’s Pharmacy and search the shelving in its staff area. Return to the underpass gate, unlock it, and crouch through the fence opening.
-
Search Rodney’s General Store. Take money from the register and inspect the calendar and code note. The freezer combination joins 23 with the day, 11; it is not an addition problem.
-
Retrieve the Check In Key. Enter 2311, pass the hanging meat, and search the bag in the room beyond. Be ready to dodge the charging enemy and retreat.
On the return journey, collect the Boxcutter from the dead dog. Cut through the white sheets along the shortcut and return to the motel office. Once inside the check-in area, read Eddie’s entry in the guest ledger.
| Early obstacle | Solution | Clue or requirement |
|---|---|---|
| Diner radio | 89.0 | Restroom emergency notice |
| General store freezer | 2311 | Code note and October 11 calendar |
| Motel entrance gate | Varies by save | Eddie’s guest-ledger entry |
| Motel gift shop weapon locker | 6671 | Call Room 3 at 58883 |
| Room 3 safe | 6671 | Same combination as the weapon locker |
| Diner shed lockbox | 1972 | Diner plaque and Samuel’s journal |
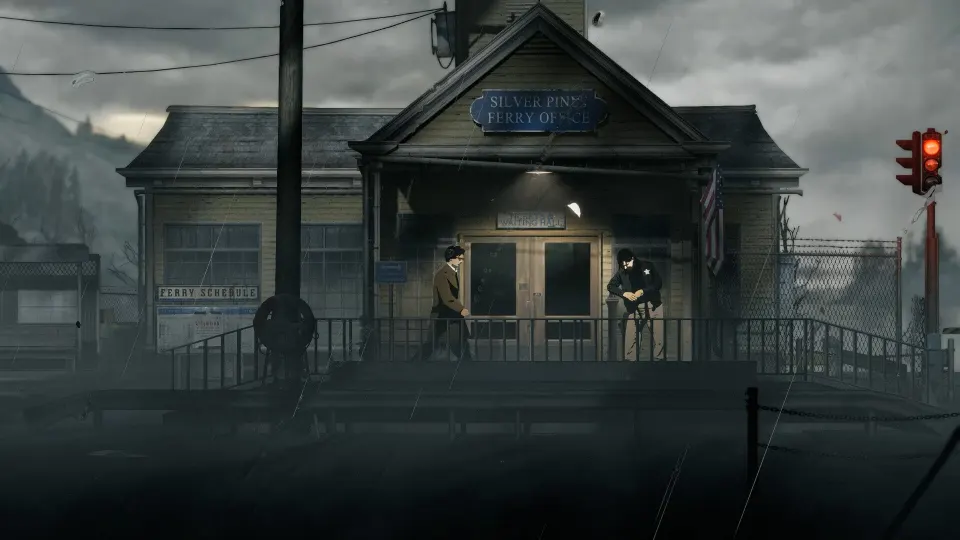
Solve Downtown locks and restore the ferry
Downtown introduces the cable car lead and locks in the Sheriff’s Office, Union Apartments, and Town Hall.
| Location or lock | Solution | How to interpret the clue |
|---|---|---|
| Ammo Zone back door | Spade, heart, club, diamond | Follow the membership sign |
| Ammo Zone cage | 2367 | Inspect the framed jersey upstairs |
| Sheriff’s Office entrance | 1715 | Tune the tunnel radio to 86.6 |
| Sheriff’s painting safe | 15, 7, 3, 10 | Read the four paintings; alternate dial direction |
| Holding cells | 3100 | Reverse badge number 0013 |
| Union supervisor’s lockbox | 1C, 3A, 2A, 3C | Arrange the newspaper clues |
| Union basement lockbox | 1525 | Inspect the painted-over wall in 1C |
| Union basement stairwell | 54399 | The utility-room route bypasses this lock |
| Pet Clinic cat cage | 3819 | Use ages from the Friendly Paws List |
| Town Hall clock | 10:07 | Times from 10:06 through 10:08 work |
| Operations Office locker | 1893 | Enter the combination directly |
For the Union supervisor’s lockbox, preserve the letter-number pairs rather than treating the solution as a simple numeric code.
To restore ferry travel, find the A20 Fuse in the Ticket Booth beside the Downtown ferry car park. Shoot the obstruction in the gap beneath the television, crawl inside, and take the fuse from the desk. Install it in the ferry controls to reopen travel toward the motel and diner area.
Keep ammunition available for exploration. Guns can remove rusted padlocks and vent grilles, while the shotgun opens wooden barricades. Photograph blocked routes so you can find them again when carrying the appropriate equipment.
Continue through Church Hill, the sewers, and the mountain
Church Hill, the sewers, and the mountain introduce symbol and music puzzles. The ghost ship’s clue is at the Riverside docks.
| Puzzle | Solution | Supporting clue |
|---|---|---|
| Funeral home coffin room | 752 | Ashbrook Florist prices for lily, rose, bluebell |
| Church cube gate | Triangle, cross, cross, triangle | Father Foster’s necklace and the newspaper sign |
| Church Hill fishing shack crate | 4514 | Direct combination |
| Sewer flow-control lockbox | 1467 | Follow the red line on the pipe clipboard |
| Ghost ship control panel | Door, release clamp, enable | Ship manual page at the Riverside docks |
| Cable station bells | E, G, D, C, F, A, B | Completed plaque |
Collecting the Sledgehammer in Church Hill also makes earlier locations worth revisiting. It breaks cracked walls and is needed before you can access motel Room 3. Inside that room, search the duffel bag for the Motel Car Key, which opens the trunk outside the motel.
The route later reaches Thelend Broadcasting Company and the ending sequences.
Manage saves, crafting, and permanent upgrades
Payphones are your regular save points. Insert a coin and call Mr. Jackman at 77221. Check the coin-return slot before spending money from your inventory. Certain story checkpoints provide a free save opportunity when a phone rings.
Prioritize upgrades that make every subsequent trip easier:
-
Coffee machines: Seven machines permanently increase maximum stamina. Drink the coffee after preparing it.
-
Hip Bags: Nine bags each add two inventory spaces, for eighteen additional slots altogether.
-
Memento Vessel Shards: Shoot wooden bird figurines to collect shards. Four shards make a vessel that adds one equipment slot.
-
Mementos: Equip these objects for bonuses such as faster reloads or additional stamina. Sixteen shards let you expand from one slot to five.
-
Maps: Pick up area maps to reveal nearby landmarks and make backtracking easier.
Save empty bottles for crafting. Combining a bottle with an herb produces the following item:
| Herb | Crafted item |
|---|---|
| Flatleaf Herb | Healing tonic |
| Turkey’s Crown | Catalyst |
| Pale Lichen | Energizing tonic |
| Blackstem Nettle | Antidote |
Combine two healing tonics for a potent version. Combining a healing tonic with a catalyst produces a full heal, making catalysts valuable when your health is badly depleted.
For melee maintenance, combine Spare Parts and Duct Tape into a Makeshift Repair Kit. The Boxcutter also remains useful for cutting cloth and plastic coverings, so remember its exploration function when checking blocked passages.
Difficulty can be changed during play. Survival Horror provides the intended baseline; Tense and Relaxed offer more forgiving combat and resources. Nightmare increases incoming damage, reduces your damage, and provides less ammunition per pickup. Choose a setting that leaves room to learn enemy attacks and explore.
Prepare for Leave, Rest, and Live
Silver Pines has three endings: Leave, Rest, and Live. Preserve a save at the payphone immediately before meeting Eddie so you can reload while pursuing the different outcomes.
Keep this save separate from later progress rather than overwriting it immediately after making a major decision.
Before committing to the closing stretch, take care of useful optional actions:
-
Call 911 from a payphone for an achievement; the call costs a coin.
-
Pet the cat in the ferry office for another achievement.
-
Revisit accessible upgrades and collectibles, particularly inventory expansions, coffee machines, and mementos.
FAQ
Are the codes identical in every save?
Most combinations in this silver pines walkthrough are fixed. The Crimson Bear Motel gate is the exception: its code changes between saves. Read Eddie’s row in your own guest ledger instead of entering a number shown in another player’s video.
Why can’t I open the car trunk outside the motel?
You need the Motel Car Key from the duffel bag in Room 3. Access to that room depends on obtaining the Sledgehammer in Church Hill. The Car Key collected at the start only handles your own car near the diner.
What should I do if I run out of shotgun shells?
Check payphone coin-return slots and accessible loot, then use available money to buy ammunition. Avoid assuming every obstruction requires a shotgun: rusted padlocks and vent grilles can be shot with other firearms. The Miner Diner shed also has a crowbar alternative if you already have that tool.
Can I see all three endings without restarting?
Yes, all three endings can be reached using one save. Keep the payphone save from immediately before meeting Eddie, then reload it to pursue the remaining outcomes.