What Happens at the Union Building
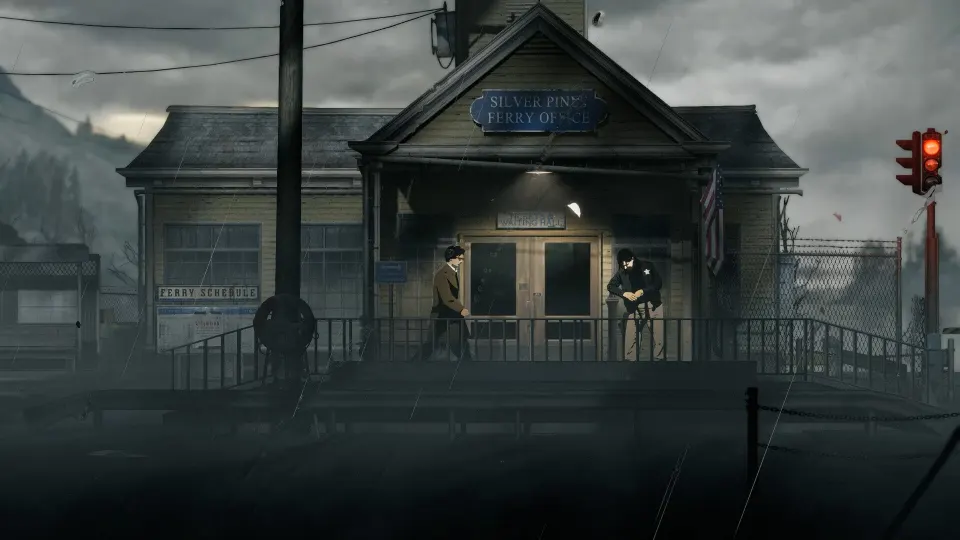
The moment Walker steps inside the condemned Union Building on Loomis Street, the game shifts gears. What starts as a search for Eddie Velvet turns into the most dangerous interior sequence of Silver Pines — a multi-phase confrontation with an unstable armed occupant backed by shadow-like entities that use the building's rotting corridors against you. Getting past this encounter requires preparation before entry, not improvisation inside.
The Union Building is not a traditional boss arena. It is a lived-in ruin with a map on the lobby wall, a working elevator (startling in a survival horror game), and a laundry room you can reach through a cracked basement window. That context matters: the fight plays out across real space, not a scripted chamber, and knowing each zone gives you an edge.
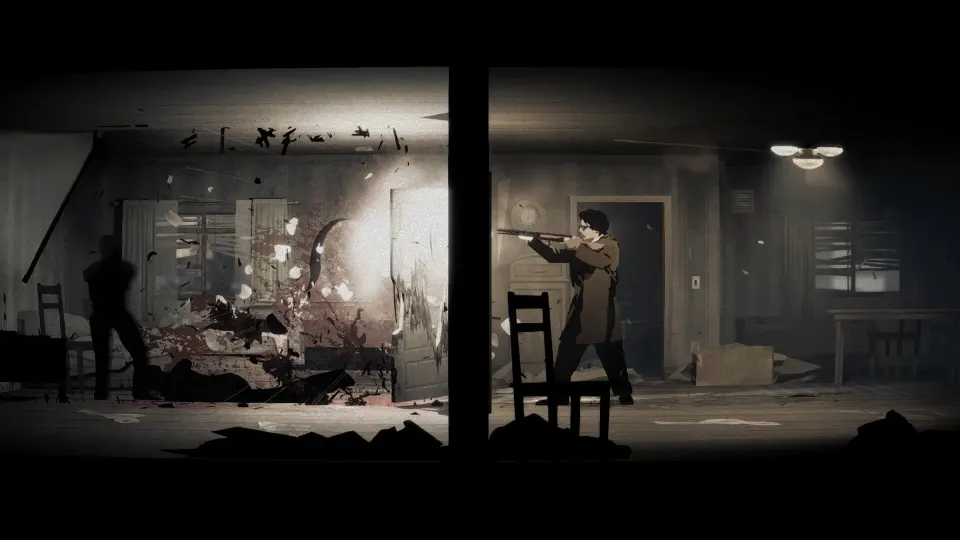
Building Layout and Key Zones
The Union Building is a multi-story apartment complex. Its lobby is the entry and orientation point; upper floors hold the dangerous corridors where the primary antagonist patrols. The basement sits below street level and is accessible through a broken window when the main route is blocked.
| Area | Floor | Notable Feature |
|---|---|---|
| Lobby / Intercom Panel | Ground | Entry point; call up to units via intercom |
| Basement / Laundry Room | Sub-ground | Accessed through cracked window; washer needs laundry token |
| Residential Hallways | Upper floors | Narrow; shadow enemies patrol these corridors |
| Restricted Zone | Mid-level | Where the guard establishes his claim on the building |
| Collapsed Balcony | Upper floor | Structurally unsafe; prior on-site fatality |
The building's history is embedded in newspaper clippings you find during the approach. Three deaths are documented on record, and each one foreshadows the kinds of dangers waiting inside.
| Victim | Cause of Death | Detail |
|---|---|---|
| Unnamed tenant | Found in broken elevator shaft | Had reported feeling followed before death |
| Alberta "Albie" Wells, 1955–1993 | Turpentine ingestion | Cedar Pines Writers Society member; ruled suicide |
| Drew Leker (attributed) | Fall from collapsed balcony | Attacked Town Hall employees the prior day |
Reading these clippings before entering sets the tone: the building does not let people leave cleanly.
Who You Are Fighting
A man — referred to by players as the Guard — has taken the Union Building as his own territory. He tells Walker the area is restricted, accuses him of being dirty, and threatens to expose and punish him. His dialogue cycles between menace and laughter, and he is difficult to read. He is not operating on logic; he is operating on paranoia and ownership.
Walker gains entry through the intercom by calling Alice Baker's unit. A voice — identifying itself only as a friend — buzzes him in and invites him upstairs. That moment of apparent help is the setup for what follows: the building is not safe, and the voice that welcomed Walker is not straightforwardly an ally.
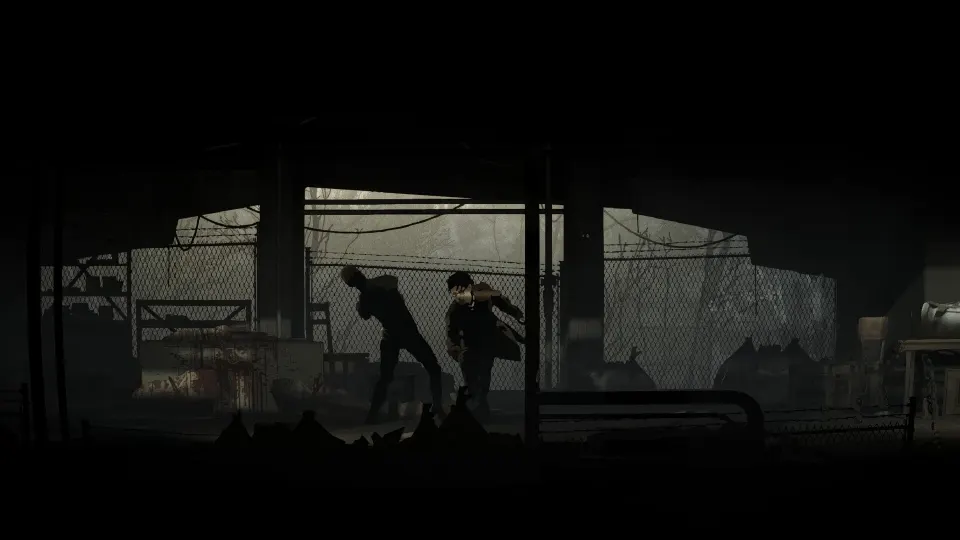
The Guard confronts Walker in the restricted hallway zone. He does not attack immediately. He taunts, circles, and waits for Walker to make the first move. Behind him — and through the building's other doors — shadow-form entities begin to appear. The silver pines union building boss fight escalates in distinct phases, moving from verbal confrontation to a heat-saturated climax that taxes both ammo and stamina.
| Phase | Enemy Behavior | Recommended Response |
|---|---|---|
| Patrol / Confrontation | Verbal threats; claims territory; watches Walker | Hold position; do not fire first |
| Escalation | Moves aggressively toward Walker; laughs off attempts to leave | Back toward an exit point; save ammo |
| Attack Phase | Charges or triggers shadow entities through doors | Dodge laterally; use .38 rounds on direct threats |
| Heat Sequence | Environmental heat becomes a mechanic; visibility drops | Keep moving; prioritize distance over damage output |
The heat sequence at the climax is the most disorienting part. Sound design escalates, movement feels sluggish, and the encounter demands that you stay calm and keep your feet moving rather than standing and trading shots.
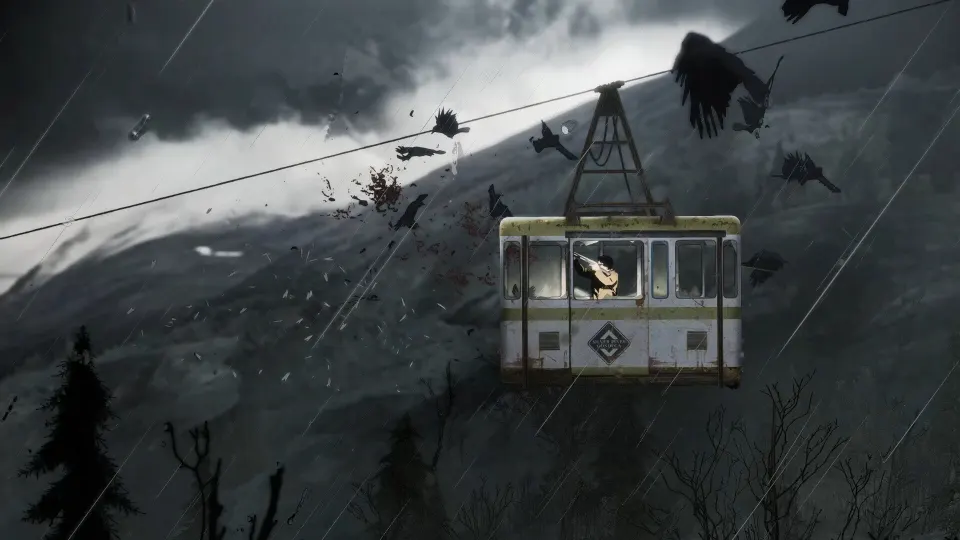
Combat and Evasion Strategies
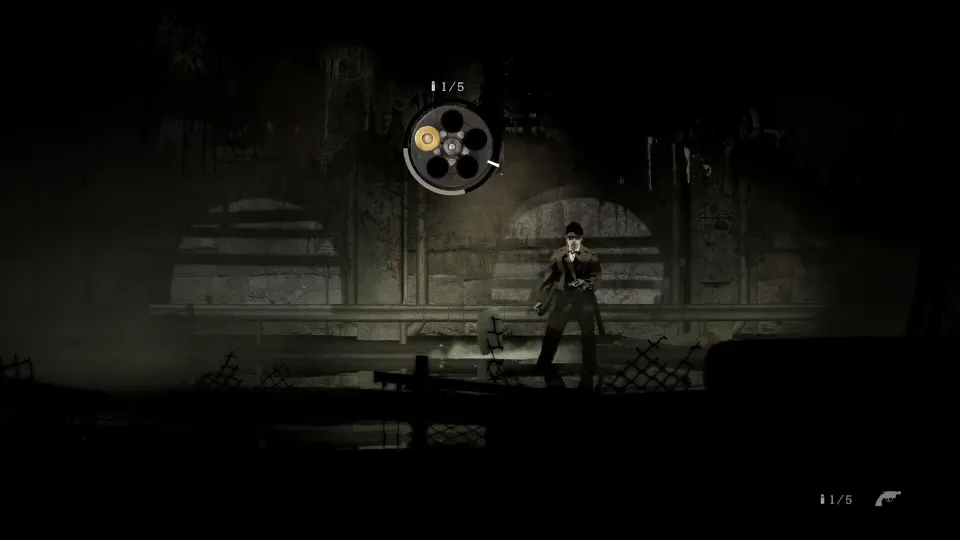
Two approaches work. The first is a combat-forward run that burns through .38 caliber ammunition to push past the Guard and the shadows quickly. The second leans on evasion — and if your dodge timing is strong, you can pass through the worst of the encounter without taking meaningful damage even if your weapon skills are underdeveloped.
Steps for a combat-forward run:
- Enter the building with at least 38 rounds of .38 caliber ammo — that figure is not a guideline, it is a floor.
- Clear the basement route first to secure a fallback path if the upper corridors become blocked.
- Turn the flashlight off when crossing open lobby areas to preserve battery and reduce your visibility to roaming shadows.
- When the Guard confronts you in the restricted zone, do not close distance. Let him come to you and use the hallway length.
- In the heat sequence, move laterally and continuously. Standing still is what gets Walker killed.
Steps for an evasion-focused run:
- Prioritize dodge timing practice in earlier encounters before you reach the Union Building.
- Use the building's corners and door frames to break line of sight on the Guard.
- The basement window acts as a reset point — if you have overwhelmed, falling back there resets enemy patrol positions.
- Save health items for the heat sequence only; the lead-up is survivable without them if you move well.
Loadout and Items to Bring
Do not enter underprepared. The vending machines outside the building sell nails at five dollars for ten, which is worth stocking up on before you attempt this section. Batteries for the flashlight deplete faster in the basement and during the heat sequence than in any other part of the game, so carry at least two spares.
| Item | Recommended Quantity | Source |
|---|---|---|
| .38 Caliber Rounds | 38 minimum | Shops and enemy drops before this section |
| Nails | 20+ | Vending machine, $5 per 10 |
| Flashlight Batteries | 2 spares | Veterinary clinic; cinema dark area |
| Health Items | 3–4 | Stock up from workbench before entering |
| Laundry Token | 1 | Found near the lobby counter on entry |
The laundry token is easy to miss. It sits near the front desk area on the ground floor and unlocks the shared washer in the basement — behind which there is a useful pickup before the confrontation zone. You do not need it to complete the fight, but skipping it means leaving an item behind.
The workbench near the Union Building is your last safe crafting point. Use it. Once you cross into the building and the Guard acknowledges you, the environment locks down and resource pickups become scarce.
Frequently Asked Questions
Does the silver pines union building boss fight have a hard fail state? Yes. If Walker's health hits zero during the heat sequence, you restart from the last save inside the building. The building does have an internal save point — check near the stairwell before the restricted zone. Use it.
Can I talk my way out of fighting the Guard? No. The Guard's confrontation always escalates regardless of what dialogue options Walker uses. Verbal responses affect the pacing of the early phase but do not prevent the fight from triggering.
What happens if I run out of .38 ammo mid-fight? You can complete the encounter with nails and evasion alone, but it extends the heat sequence significantly and increases the risk of taking damage from shadows. Reload from the basement supply cache if you still have time before the phase locks.
Is there anything missable inside the Union Building? The laundry token and a coded note in the third-floor hallway are both missable after the heat sequence begins. Collect them on your first pass through the building, before the Guard triggers the confrontation.
Do I need to clear the Union Building to progress the main story? Yes. Walker's investigation of Eddie Velvet requires completing this section — the clues found here directly unlock the next major location.