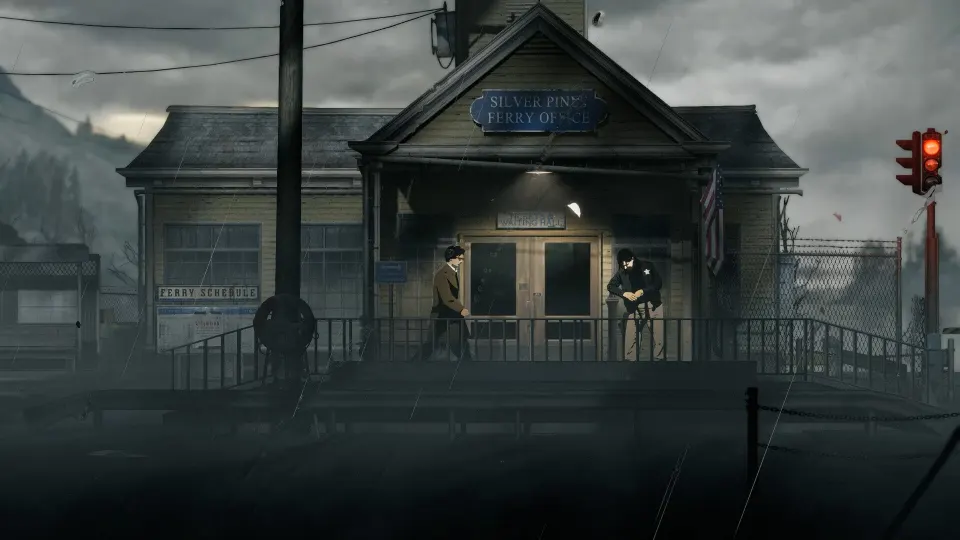
Protect your progress before exploring
Missing a coffee machine means missing a permanent stamina upgrade, while spending your last coin can leave you unable to save. These silver pines tips help you protect progress, stretch supplies, and recognize useful shortcuts before another trip across town becomes necessary.
Payphones are your regular save points. Insert a coin and call Mr. Jackman through your address book; his number is 77221. Before paying, inspect the coin-return slot. It often contains a coin on your first visit, which can cover a save when your pockets are empty.
| Situation | Recommended action | Reason |
|---|---|---|
| First visit to a payphone | Inspect its coin-return slot | You may find a free coin |
| After a difficult encounter | Spend a coin to save | Protect the progress and resources already invested |
| Phone ringing at a story checkpoint | Answer it | Certain story moments provide free saves |
| Shopping with little money | Reserve change for saving | Vending purchases compete with your save budget |
Search hanging coats, purses, bags, and accessible car trunks for money and supplies. Newspapers offer background information, but saving and buying useful items generally deserve priority when funds are tight.
Before entering unfamiliar territory, check your health, reload, and inspect melee durability. Your health condition appears beneath the Polaroid in the inventory, progressing from Fine toward Critical. Increasing redness on the screen also warns that your condition is worsening. Make these checks somewhere secure: opening the inventory or map does not pause enemies.

Prioritize permanent upgrades and inventory space
Coffee is an upgrade, so check kitchens and break areas carefully. The first machine is in the diner kitchen near the beginning. Brew coffee and drink it before leaving. Increased maximum stamina gives you more room for melee attacks and dodges, both of which consume the meter.
Three upgrade types deserve particular attention throughout your exploration:
| Upgrade | How it works | Available total |
|---|---|---|
| Coffee | Drinking it permanently increases maximum stamina | Seven machines |
| Hip Bag | Each bag adds two inventory slots | Nine bags |
| Memento Vessel | Combine four Vessel Shards to gain another Memento slot | Sixteen shards, allowing five slots total |
Mementos provide passive benefits such as faster reloads or additional stamina. You begin with one equipment slot. Shoot the wooden bird figurines scattered around town to collect Vessel Shards, then combine them in groups of four.
At the motel, inspect the route from the upper walkway outside Room 5 toward the shed roof for an early inventory expansion. Another bag near the motel arcade requires access through a breakable obstruction. After the tunnel boss, check behind the curtain near the cat at the ferry office.
Extra space helps, but packing still matters. Move and rotate items to use awkward gaps, and leave excess equipment in storage trunks. Dropped items remain available, so temporarily setting something down can help you reorganize. Photograph supplies you leave behind to make the return trip easier.
Use photographs and tools to plan return trips
Your camera turns the map into a practical record of unfinished business. Photograph locked doors, suspicious barriers, puzzle clues, and supplies you cannot carry. Each picture attaches to its location on the map, letting you revisit the actual obstacle instead of relying on memory.
Collect regional maps as well. The early Outskirts map is on a notice board along the route beyond your car. Maps provide the layout; photographs explain why a particular corner deserves another visit.
Many barriers require equipment rather than another key. Match the obstacle to a tool before searching the entire neighborhood.
| Obstacle | Useful equipment | Exploration tip |
|---|---|---|
| Cloth or plastic sheeting | Box cutter | Inspect covered openings for routes through |
| Rusted padlocks | Firearms or suitable heavy melee tools | A visible lock may be breakable |
| Breakable vent grilles | Firearms | Look for crawlspaces behind them |
| Wooden barricades | Shotgun | Remember these locations when you acquire it |
| Cracked walls | Sledgehammer | Photograph them for a later return |
Inspect rooftops, ledges, and low openings as carefully as ordinary doorways. A route above a familiar room can lead to an upgrade you would miss by staying at street level.
The motel also rewards following seemingly ordinary instructions. Its welcome information explains room calls. Call Room 3 at 58883 to obtain 6671, the code for the gift-shop weapon locker containing the W-500 shotgun. Keep some shells available for wooden barricades as well as dangerous enemies.
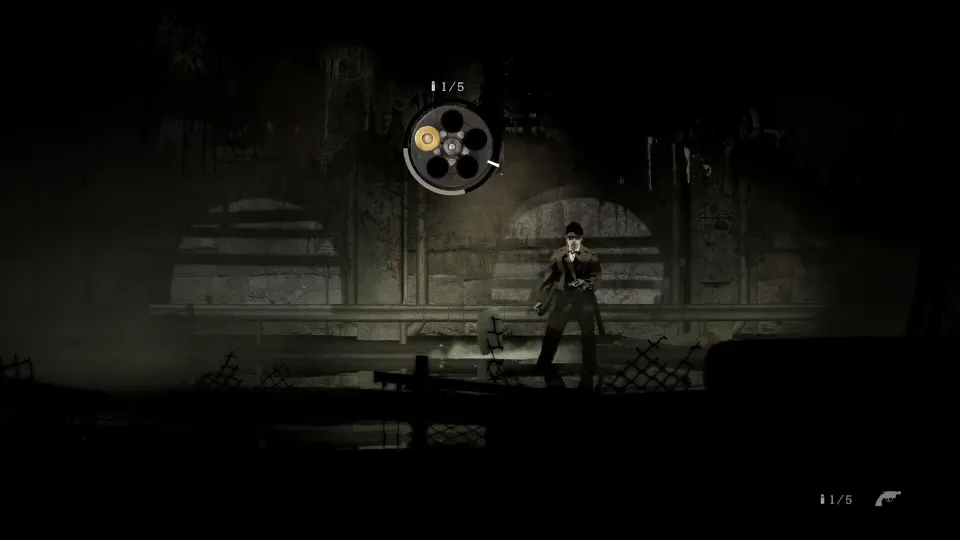
Spend ammunition and stamina deliberately
You do not need to kill every enemy along your route. Running consumes no stamina, making retreat a useful way to conserve ammunition and weapon durability. However, enemies can follow through many doors and across screen transitions. Continue toward a genuinely secure position before opening menus.
Dodging uses stamina, so leave enough energy to respond after attacking. A stationary dodge produces a backward hop, while dodging forward lets you attempt to pass an enemy. Practice the difference before relying on it in a narrow passage.
Use this combat routine to reduce avoidable damage:
- Check your weapon first. A broken melee weapon inflicts very little damage.
- Keep attacks controlled. Favor basic swings when a charged overhead strike would leave you exposed.
- Preserve an escape option. Stop attacking before you exhaust the stamina needed to dodge.
- Finish knockdowns promptly. Approach a fallen enemy and use the stomp prompt before it recovers.
- Reposition before maintenance. Reloading and repairs involve timed inputs that are difficult to manage under pressure.
With firearms, favor dependable body shots when trying for a smaller target risks wasting ammunition. The shotgun and bolt-action rifle also require cycling between shots. Watch for a yellow warning near the weapon indicator and ready the weapon before the next encounter.
Red propane tanks can damage enemies, but retreat quickly after triggering one. In dark areas, crouching can let you slip past enemies unseen. Standing to unlock a door or dodging nearby can expose you, so inspect the route before committing. Switch off your flashlight when unnecessary to conserve batteries.
Prepare healing and repairs before danger
Empty bottles are valuable crafting supplies. Keep them available for tonics instead of treating them as clutter. Healing herbs can be consumed without a bottle, but recovery is gradual. A prepared Healing Tonic is more useful when you need health immediately.
The main combinations cover healing, stamina support, poison treatment, and equipment maintenance:
| Ingredients | Result | Purpose |
|---|---|---|
| Bottle + Flatleaf Herb | Healing Tonic | Restores health |
| Bottle + Turkey's Crown | Catalyst | Enhances tonic combinations |
| Bottle + Pale Lichen | Energizing Tonic | Supports stamina recovery |
| Bottle + Blackstem Nettle | Antidote | Treats poison |
| Two Healing Tonics | Potent Healing Tonic | Provides stronger healing |
| Healing Tonic + Catalyst | Full-healing mixture | Restores health completely |
| Spare Parts + Duct Tape | Makeshift Repair Kit | Repairs melee equipment |
When unsure what an object does, select Combine in the inventory. Compatible items highlight in blue. Check combinations while using a storage trunk near a payphone, especially when puzzle objects or ingredients have accumulated.
Keep emergency healing ready before entering a threatening area. Medkits involve a minigame, while tonics avoid that delay. Even with a tonic available, create distance before using the inventory because the encounter continues around you.
Duct Tape can restore some melee durability, while repair kits provide more substantial maintenance. Repair equipment before a difficult stretch instead of waiting for it to break during combat. Keep worn-out traversal tools: depleted durability does not necessarily prevent their exploration functions, so a broken tool can still open the way forward.
FAQ
What are the most useful silver pines tips for beginners?
Drink the diner coffee, inspect payphone coin returns, and photograph blocked paths. Then prioritize inventory bags and keep one melee weapon in working condition. These habits improve your ability to survive and reduce repeated trips for supplies you could not carry.
Does opening the map or inventory pause the game?
No. Enemies remain active while you inspect either menu. Move somewhere secure before rearranging equipment, reviewing photographs, or crafting. Use the dedicated pause function when you need the action to stop completely.
Why does a motel gate code from another playthrough fail?
The Crimson Bear Motel gate code changes between saves. Find Eddie's entry in your own Motel Guest Ledger and use that number. The gate is separate from the gift-shop weapon locker and Room 3 safe, which use 6671.
Can you change the difficulty after starting?
Yes. Silver Pines offers Relaxed, Tense, Survival Horror, and Nightmare, and you can switch between them. Survival Horror is the baseline experience. Relaxed reduces incoming damage and weapon wear, while Nightmare increases danger and reduces ammunition pickups.
How do you restore the ferry for return trips?
Find the A20 Fuse on the desk inside the ticket booth by the Downtown ferry parking area. Shoot the blocked opening beneath the television and crawl inside. Installing the fuse in the ferry controls restores the connection to the motel and diner area.