How the Silver Pines Map Is Structured
The Silver Pines map is one of the most ambitious layouts in recent survival horror — not a series of self-contained rooms you leave behind, but a single sprawling Metroidvania-style town that stays live the entire game. Streets connect to alleyways, alleyways lead into apartment blocks, and those buildings loop back to corners you walked through hours earlier. Every passage you can't open today is one you'll return to tomorrow with the right key or ability.
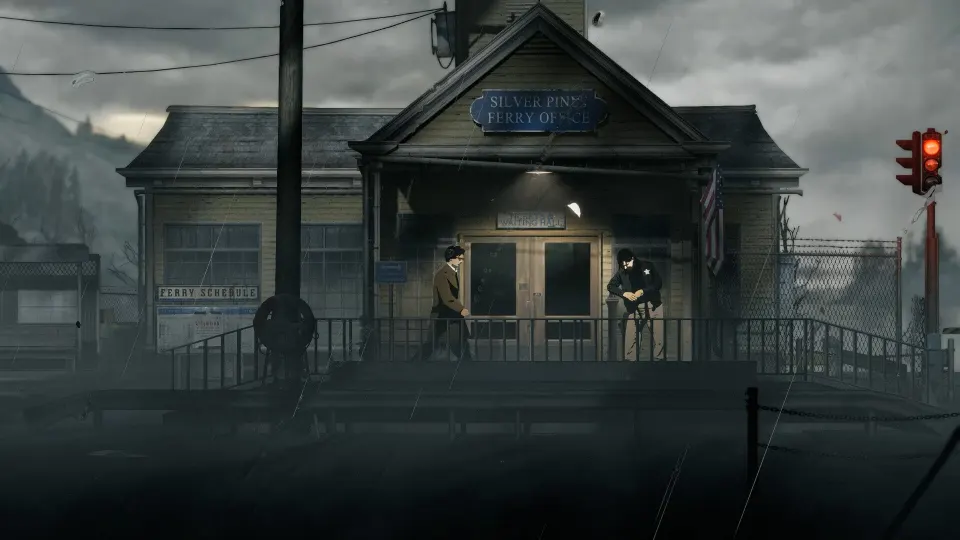
Private investigator Red Walker arrives in the town of Silver Pines with a single job: locate and eliminate a man named Eddie Velvet. Nobody in town knows what Velvet looks like, and the only contact to the outside world is a network of payphones connected to the mysterious employer who sent Red in the first place.
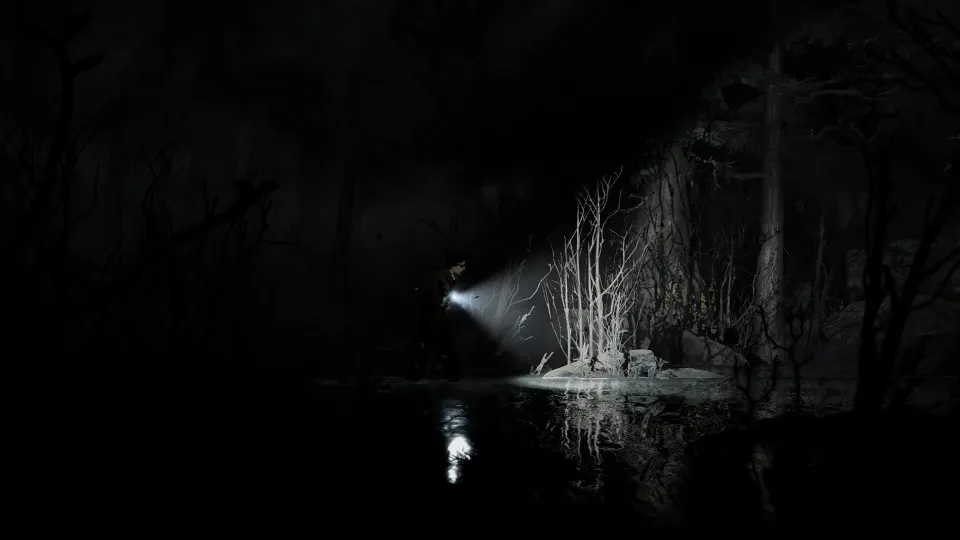
The world is rendered in 2D pixel art heavy with grays and browns, and every character moves with rotoscoped animation traced from live footage, giving the streets an uncanny, unsettling life that perfectly matches the descent-into-madness tone. A thorough first playthrough runs 15–16 hours, almost all of which is spent moving through, and repeatedly returning to, the same geography.

The Three Acts and Their Districts
Silver Pines divides its story into three main acts, each centered on a different section of town. The acts unlock in sequence, but once you gain access to a new district you're free to explore it — and to circle back to earlier zones — without being immediately sent forward. That freedom is real, but it comes with a catch: the tools needed to clear most barriers in any given area are handed out through main-story quests rather than discovered in side rooms, so wandering too far ahead of the narrative tends to produce dead ends.
| Act | Primary Setting | Core Story Goal |
|---|---|---|
| Act 1 | Residential district — apartments, side streets, back alleys | Establish Red's contacts and gather early leads on Velvet |
| Act 2 | Commercial and civic center — shops, service corridors, public spaces | Push deeper into town and unlock the major cross-zone shortcuts |
| Act 3 | Industrial outskirts — warehouses, open lots, late-game interiors | Close in on Eddie Velvet and confront the town's underlying truth |
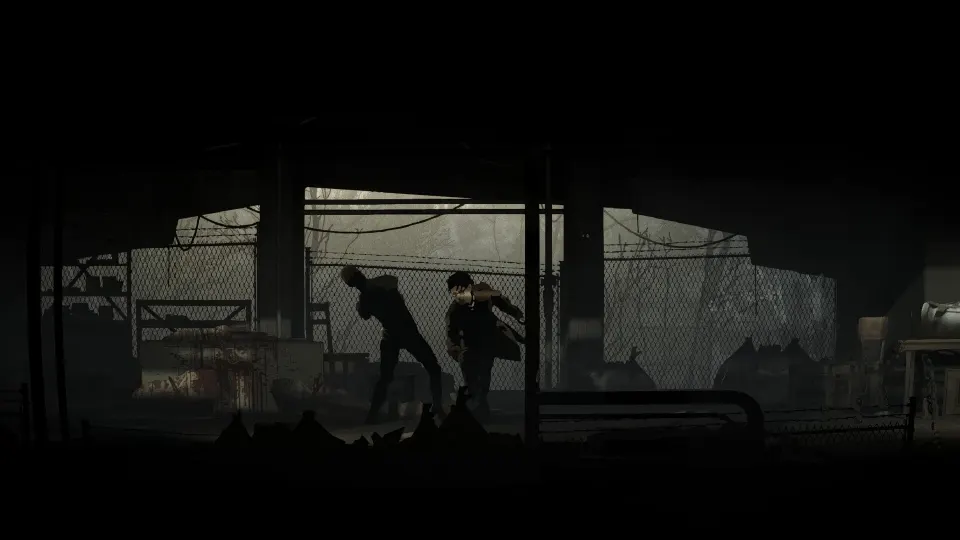
Enemy variety tracks the act structure as well. Act 1 is dominated by slow, shambling blob-like humanoids — gray and black figures that telegraph their wide swings clearly. Act 2 introduces faster variants that lunge rather than swing, demanding tighter dodging. Flying enemies appear in Act 2 and become more common in Act 3, where melee weapons lose their usefulness and pistol accuracy matters more.
The storytelling within each act is more linear than the world suggests. Most players finish a playthrough feeling that the first two acts are the game's strongest, with Act 3 coasting slightly toward a conclusion that hits the thematic notes of Red's unraveling sanity without delivering a truly transcendent final moment. The map exploration, however, remains consistently rewarding throughout.
Locked Passages and What Opens Them
Navigating the Silver Pines map means dealing with barriers in every form the designers could invent. Each type of blocked passage has a corresponding solution, and learning the logic behind each category makes exploration far less frustrating.
| Barrier Type | What Unlocks It | Practical Note |
|---|---|---|
| Key-locked door | Physical key found somewhere in the environment | Keys are permanent items; treat them as quest objects and never drop them |
| Numeric combination lock | Code assembled from scattered notes or background art | Clues are almost always located in the same zone as the lock itself |
| Crumbling wall | Melee item or explosive acquired through main story | Usually hides ammo caches or optional collectibles behind it |
| Body of water | Stamina upgrade granted during a main-quest beat | Blocks several critical story paths — not skippable |
| Vent or alternate entrance | Shooting the vent cover with any ranged weapon | Reveals shortcuts that dramatically cut travel time in late game |
The standout early example is an apartment-building combination lock in Act 1. Its four-digit code uses room numbers in place of ordinary digits, and the clues — handwritten notes, background art details — are scattered across the building in no particular order. You have to gather all of them and deduce which room number belongs in which slot. It reads as a full adventure-game puzzle inside a survival horror framework, and it sets the tone for everything that follows.
One rule that saves enormous grief: any item that opens or unlocks a specific passage in the world is a permanent key item. The game does not label these differently from ordinary consumables. New players frequently drop them once a door is open, assuming the item has served its purpose. It has not — key items may be needed again, and dropping them can strand you in a partially solved zone with no way forward.
Enemy Distribution and Resource Pressure Across the Map
Enemies in Silver Pines occupy consistent positions across the map. Their placement doesn't randomize, which rewards memorization: once you know where a fast variant patrols a particular corridor, you can plan your route through it accordingly.
| Enemy Type | Movement Pattern | Zone First Encountered | Most Efficient Counter |
|---|---|---|---|
| Standard blob humanoid | Slow advance, wide telegraph swing | Act 1 (throughout) | Pistol shot during cooldown after dodge |
| Fast variant | Quick lunge with short recovery | Act 2 | Shotgun at close range before it closes distance |
| Flying enemy | Aerial diagonal approach | Late Act 2 into Act 3 | Pistol; melee options are effectively useless |
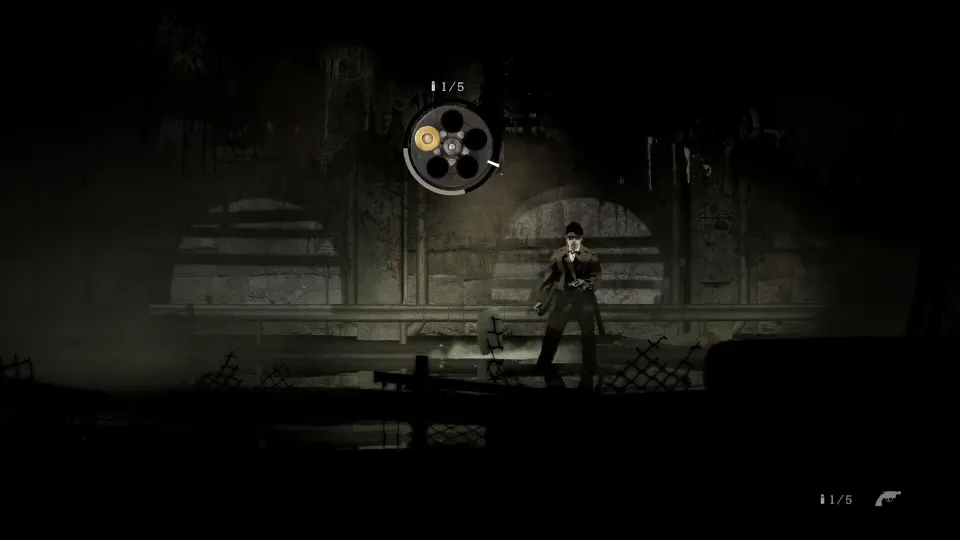
Combat is intentionally clunky and deliberate. Reloading is manual, dodges have genuine windows, and the rhythm — bait the main attack, step clear, fire during cooldown — stays consistent across all enemy types. You won't die often to individual enemies. You'll die because you burned through your healing items three zones ago and now face a blocked path with nothing left.
That resource pressure is the real map mechanic. Silver Pines borrows Resident Evil's inventory slot system: a fixed number of slots for weapons, consumables, craft materials, and key items. Because key items permanently occupy slots, your effective carrying capacity for ammo and health resources is always smaller than it appears. On higher difficulty settings, this tension governs nearly every routing decision you make.
Navigation Tips for First-Time Players
The Silver Pines map rewards thorough, patient exploration but punishes aimless wandering. The in-game map provides layout information and occasional objective markers, but the signposting is sparse by design. These habits make a meaningful difference:
- Scan every room for items. No pickup shimmers or highlights. Resources sit on surfaces looking exactly like background decoration. Develop a habit of inspecting shelves, desks, and corners in every room you enter, even rooms you've already cleared.
- Log barriers you can't pass yet. The moment you hit a flooded path or a sealed wall and lack the means to clear it, note its location. Most of these become accessible within the same act once the story hands you the right tool.
- Never drop key items. If an item has a specific name rather than a generic label, it opens something. Keep it permanently.
- Follow story quests before exploring off-path. The map-unlocking traversal abilities — stamina boosts, wall-breaching tools — are gated behind main-quest beats. Grinding side areas ahead of the narrative almost always produces dead ends.
- Use payphones as landmarks. Red communicates with his employer exclusively through town payphones. They also serve as reliable orientation anchors when you've lost your bearings after a long exploration loop.
- Shoot every vent you see. Alternate entrances hidden behind vent covers appear throughout all three districts. The ammo cost is minimal; the shortcuts they reveal are substantial, especially in Acts 2 and 3.
Frequently Asked Questions
What does the silver pines map look like — one open world or separate levels? It is one continuous interconnected world. No level loads and stays behind. The entire town across all three act districts exists simultaneously, and backtracking between early and late areas is core to the design, not an optional detour.
How large is the map compared to other survival horror games? A first playthrough runs 15–16 hours, which is considerably larger than a single-mansion horror game. The closest genre comparison is a mid-size Metroidvania — the whole town functions as one giant, interlocking space rather than a sequence of self-contained set pieces.
Can I explore Act 2 before I finish Act 1's main objectives? Technically yes once Act 2 unlocks, but the items and abilities you need to clear Act 2 barriers mostly come from Act 1 story moments. Moving into Act 2 prematurely usually means hitting walls you cannot yet pass.
Are any map collectibles permanently missable? Collectibles tied to specific locations remain accessible as long as the area is unlocked and you have the appropriate traversal item. No collectible is locked out permanently by completing a story beat.
Does the in-game map show enemy locations? No. The map shows layout and occasional objective markers but does not track enemies. Enemy placement is static and consistent across visits, so memorizing patrol positions in high-traffic corridors is a worthwhile investment.